Multiple Close Combats

More than two units can end up fighting the same close combat, on either or both sides. Unless stated otherwise, every rule for a one-on-one combat still applies.

Multiple Combats and Break Tests

First calculate the total combat result for all units on both sides, to find the overall winner of the round. Then, for each losing unit, calculate its own Break test modifier by comparing only its own combat result against the combined result of whichever enemy units it's actually in base contact with -- not the whole combat. Keep a running tally of each unit's own Wounds caused (easiest by keeping its own casualties separate) so this stays trackable.

A losing unit whose own result is equal to or higher than the combined result of the enemies it's touching takes no Break test at all -- it counts as fighting to a draw. No unit ever suffers a worse penalty than the overall result the whole side lost by, even if its own local result was much worse. A Disrupted unit never counts its own rank bonus against any enemy it's touching.

For example: Halberdiers fighting Orcs to the front and Goblins to the flank score 11 combat result total (2 Wounds on the Orcs, 4 on the Goblins, 3 ranks, Standard, Outnumber). The Orcs score 7 (4 Wounds, 2 ranks, Standard); the Goblins score 2 (1 Wound, Flank). Orcs and Goblins together score 9, so the Halberdiers win overall by 2. Against the Orcs specifically it's 7-7, a draw -- no Break test for the Orcs. Against the Goblins it's 9-2, a loss of 7 -- but since the Halberdiers only won the OVERALL combat by 2, the Goblins' Break test penalty is capped at -2.

Diagram illustrating the Halberdiers, Orcs, and Goblins multiple combat example.
Diagram illustrating the Halberdiers, Orcs, and Goblins multiple combat example, continued.
Steadfast

A losing unit is Steadfast under the normal rule as long as the combined Unit Strength of every friendly unit in the combat is higher than the enemy's combined Unit Strength -- Disrupted units don't count toward either side's total for this purpose.

Multiple Combats and Pursuit

A victorious unit that's defeated several enemies engaging it from different sides has some extra rules to follow when it comes to pursuit.

Pursuit

Each winning unit may only pursue a single enemy unit it's in base contact with (declared before any Flee rolls), and can't pursue at all if any unit it's touching passes its Break test. With more than one pursuing unit, the controlling player chooses the order they move in, after rolling each one's pursuit distance.

Flee!

A fleeing unit must roll higher than every one of its pursuers to escape -- if any pursuer equals or beats its Flee roll, it's cut down, following the same rule as charging a fleeing enemy.

Direction of Flight

Where a unit could flee from more than one enemy, the controlling player chooses the order units flee in, but each individual unit always flees directly away from whichever enemy has the highest Unit Strength (picking randomly on a tie), pivoting about its own centre and ignoring other units in the way. If this leaves the unit overlapping others in the fight, estimate its new position as best you can.

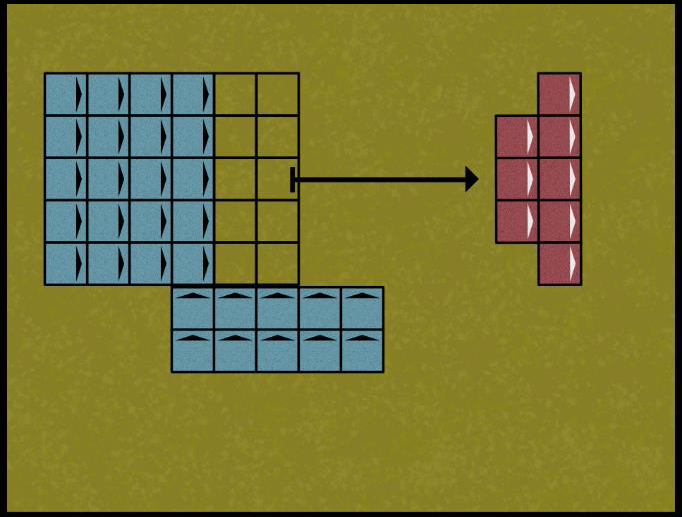
Diagram showing a unit fleeing directly away from the enemy with the highest Unit Strength, taking Dangerous Terrain tests where it flees through an enemy model.
The red unit turns to face directly away from the enemy unit with the largest unit strength, and flees. As every model in the unit has fled through an enemy model they each have to take a Dangerous Terrain test. Two of the models fail the test and are removed as casualties.
Direction of Pursuit

Once every flee move is resolved, resolve pursuit moves one at a time, in an order the controlling player chooses -- each pursuer pivots about its own centre to face the fleeing unit of its choice, then pursues as normal. A pursuer that catches up to a fleeing unit that actually escaped simply stops 1" away.

Shrinking Units and Multiple Fights

A unit can end up out of base contact with an enemy that's still partly alive -- most often after a rear charge, since casualties are removed from the rear rank first. When this happens, nudge the attacking unit (by as little as possible) back into contact -- this can't change which facing it's touching, alter its formation, or let it charge some other unengaged unit. If the attacker can't be moved this way, move the defender instead.

No More Foes

A unit left with no enemy at all (usually because the one it was fighting was wiped out) is out of the combat entirely and can move normally from then on. Its Wounds already inflicted still count toward the fight's overall combat result, but none of its other bonuses do, and it can no longer help cancel an enemy's Steadfast or contribute its own Unit Strength to the combat total.

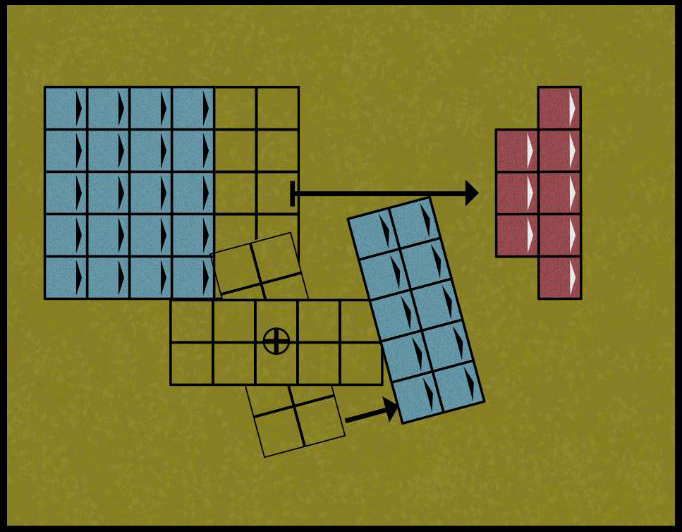
Diagram showing a unit that lost the combat and failed its Break test fleeing 7 inches.
The red unit has lost the combat and failed its Break test. It has rolled high enough to escape, and makes its flee move of 7".
Diagram showing the smaller blue unit pursuing first, stopping 1 inch away after its pursuit move would otherwise re-contact the fleeing red unit.
The blue player decides to move his smaller unit first. The unit pivots to face the fleeing red unit and starts its pursuit move of 6". Because of its position, this move would bring it back into contact with the red unit, so it has to stop 1" away.
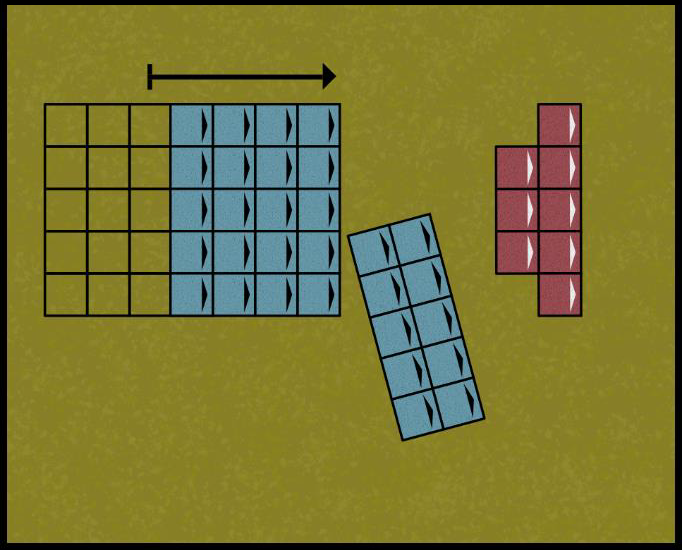
Diagram showing the larger blue unit making its own pursuit move and stopping 1 inch away from its comrades.
The larger blue unit then makes its pursuit move, but must stop 1" away from its comrades.

Working…